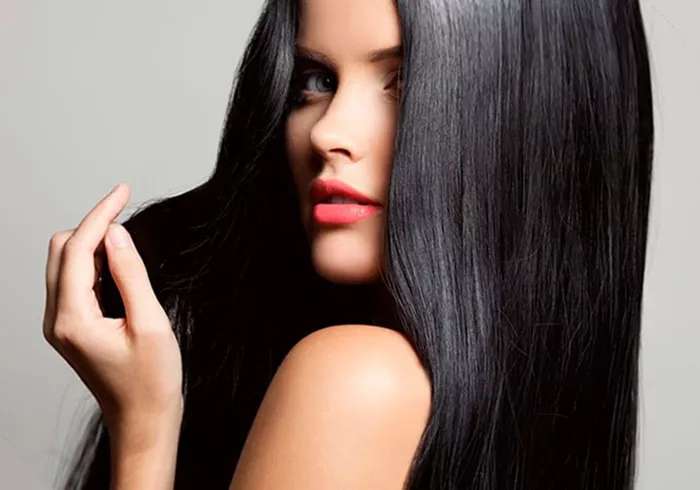
Black curly hair, especially Type 4 textures (4a, 4b, 4c), is renowned for its resilience and volume, but its tightly coiled structure makes it vulnerable to heat damage. Each strand forms a zigzag pattern that resists straightening, requiring careful heat application and moisture management. Unlike looser curl patterns, Type 4 hair has fewer cuticle layers, making it prone to dryness and breakage when exposed to high temperatures. The key to successful straightening lies in balancing heat with hydration, ensuring the hair’s natural elasticity and protein structure remain intact.
Before reaching for a flat iron, evaluate your hair’s current condition. If it feels brittle, shows split ends, or snaps easily, prioritize a *6-week recovery plan* with protein treatments and deep conditioning. Invest in professional-grade tools: a ceramic or titanium flat iron with adjustable heat settings (up to 450°F for coarse hair) and a blow dryer with a comb attachment. Avoid using cheap irons with uneven plates, as they create hot spots that fry the hair.
Pre-Styling Rituals: The Non-Negotiable Routine
Cleanse and Clarify
Start with a sulfate-free clarifying shampoo to strip away product buildup, oils, and environmental residue. Buildup blocks heat penetration, forcing you to use higher temperatures and multiple passes. Follow with a moisturizing deep conditioner containing ingredients like mango butter, quinoa protein, or panthenol. These components temporarily smooth the cuticle and fortify the hair’s inner cortex, reducing breakage risk. For extra protection, apply a pre-shampoo oil treatment (e.g., coconut or grapeseed oil) 30 minutes before washing to minimize moisture loss.
Detangle with Care
Never detangle dry hair—this is a recipe for breakage. After rinsing the conditioner, use a wide-tooth comb or your fingers to gently separate knots while hair is soaking wet. Work in small sections from the ends upward, applying a leave-in conditioner or detangling spray for slip. Pat hair dry with a microfiber towel—avoid rubbing, as friction disrupts the cuticle and causes frizz.
Heat Protection and Stretching
Divide hair into 4–6 sections using clips. Apply a heat protectant spray with silicones (like dimethicone) to each section, focusing on mid-lengths and ends. Silicones create a thermal barrier without weighing hair down. Next, blow-dry hair using the tension method: hold the dryer 6 inches away and stretch each section with a comb attachment. This pre-straightens the hair, reducing the need for excessive flat iron heat later. Ensure hair is 100% dry before using the flat iron—damp strands can steam and snap.
The Flat Iron Technique: Precision for Glass-Like Results
Step 1: Section Strategically
Working in small sections (1–2 inches wide) ensures even heat distribution. Start at the nape, where hair is most resilient. Clip the top layers away to avoid overlapping heat.
Step 2: Temperature Guidelines
Fine or Color-Treated Hair: 300–330°F
Medium Texture: 340–370°F
Coarse/Thick Hair: 380–400°F (never exceed 450°F)
Test a small section first. If you hear sizzling or smell burning, lower the temperature immediately.
Step 3: The Glide-and-Release Method
Clamp the flat iron as close to the roots as possible without touching the scalp. Glide the iron down the hair shaft in one slow, steady motion. Avoid clamping too tightly—let the plates gently guide the hair. For stubborn coils, pause for 1–2 seconds at the midpoint before continuing. Release the hair smoothly at the ends to prevent crimping.
Step 4: Edge and Baby Hair Mastery
Use a mini flat iron (½ inch) for edges and baby hairs. Wrap the hair around the iron in a rolling motion, starting at the roots. Hold for 3 seconds, then release. Finish with a light-hold edge control gel to lay down flyaways.
Step 5: Final Touches
Once all sections are straightened, run a boar bristle brush through your hair to distribute natural oils and boost shine. Avoid heavy products like oils or creams—they attract humidity and cause reversion. For a salon-worthy finish, spritz a humidity-resistant hairspray from 12 inches away.
Post-Styling Care: Locking in Smoothness
Nighttime Protection
Sleeping on cotton pillowcases absorbs moisture and creates friction. Switch to silk or satin pillowcases and wrap hair in a silk scarf or bonnet. For extra security, tie hair into a loose, low ponytail or braid.
Daytime Maintenance
Humidity Defense: Apply a silicone-based anti-humidity serum to repel moisture.
Root Refresh: Use dry shampoo on day two or three to absorb oil and maintain volume.
End Care: Hydrate ends daily with a water-free moisturizer containing ceramides or squalane.
Avoid excessive touching, brushing, or styling—each interaction disrupts the straightened cuticle.
Critical Mistakes That Lead to Disaster
Skipping Protein Treatments: Heat depletes keratin. Use a protein mask every 4–6 weeks to rebuild strength.
Overlapping Heat Passes: Each pass over the same spot weakens the hair shaft. Stick to 1–2 passes max.
Ignoring Tool Hygiene: Dirty flat irons transfer product residue, causing uneven heat and buildup. Clean plates weekly with alcohol wipes.
Using High Heat on Fine Hair: Thin strands can’t tolerate 400°F—adjust settings based on density.
Straightening Dirty Hair: Product buildup forces higher heat. Always start with clean, clarified hair.
If your hair feels rough or looks dull post-straightening, pause heat styling for 8 weeks. Focus on reparative masks with hydrolyzed proteins and ceramides.
When to Choose Professional Help
If home efforts lead to frizz, uneven results, or breakage, consult a stylist specializing in Type 4 hair. They may recommend:
Silk Press Services: Combines deep conditioning, blowouts, and precision flat ironing.
Keratin Treatments: Temporary straightening (3–5 months) using formaldehyde-free formulas.
Customized Trims: Removing split ends ensures smoother results next time.
Conclusin
Straightening black curly hair can be safe, but it requires patience, knowledge, and respect for your hair’s limits. Prioritize moisture, moderate heat, and regular trims. Remember, sleek hair means nothing if it’s breaking off at the roots. Embrace protective styles like wigs, braids, or twists between heat sessions, and never let aesthetics compromise your hair’s health. With these steps, you’ll achieve straight, shiny hair that bounces back to its natural glory whenever you’re ready.
Related topics:
How to Cut a Bob on Black Hair
HairSpiracy Honors Black Hair Artistry, Culture, and Community in Portland


