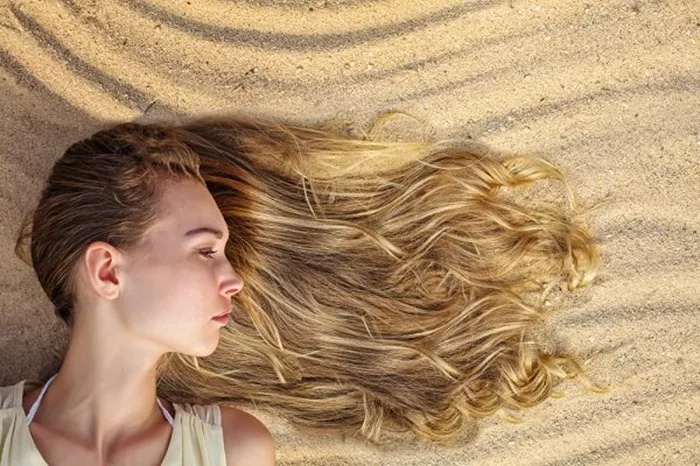
When people think of beach waves, they often imagine salt sprays, braids, or curling wands. But a flat iron—yes, the same tool you use to smooth frizz—can create soft, undone waves that rival any seaside hairstyle. The advantage? Precision. Unlike curling barrels that force hair into uniform spirals, a flat iron lets you control the size, direction, and looseness of each wave. It’s also faster for many, especially those already skilled with straightening. The secret lies in mastering subtle twists and tension, mimicking the irregular patterns of windblown hair. Whether your hair is pin-straight, thick, or fine, this tool adapts to your texture with the right technique.
Before diving in, choose a flat iron with floating plates (ceramic or tourmaline are ideal) to prevent snagging. Adjustable heat is non-negotiable—fine hair thrives at 300°F, while coarse textures may need 380°F. Always start with fully dry hair. Damp strands can steam and snap under heat, and beach waves require a clean, smooth base. Prep with a lightweight heat protectant spray, and avoid heavy oils or creams that weigh down movement. If your hair is freshly washed, add a texturizing spray or dry shampoo at the roots for grit, which helps waves hold their shape.
The Foolproof Method for Waves That Last All Day
Begin by dividing hair into four horizontal sections, clipping the top layers away. Start at the nape: take a 1.5-inch section, clamp the flat iron close to the roots, and twist the wrist away from your face as you glide down. The twist should feel like a gentle turn—about 45 degrees—not a full rotation. As you reach the mid-lengths, pause for 2 seconds, then continue sliding to the ends. This pause creates a soft bend rather than a sharp kink. Release the hair and let the wave cool. Repeat, alternating twist directions (left for one section, right for the next) to avoid uniformity.
For face-framing layers, angle the flat iron diagonally toward your cheekbone as you twist. This adds a flattering, tousled effect. Once all sections are done, run your fingers through the waves to separate them. Avoid brushing—this flattens volume. If the waves look too defined, gently scrunch them with a drop of hair oil on your palms. For extra staying power, mist with a flexible-hold hairspray from 12 inches away. The goal is “lived-in” texture, not stiff perfection.
How to Customize Waves for Your Hair Type
Fine or short hair: Use smaller sections (1 inch wide) and lower heat (300–320°F). Twist quickly and avoid over-clamping to prevent flatness. Focus waves mid-length to ends—too much volume at the roots can look sparse.
Thick or long hair: Higher heat (360–380°F) ensures waves set properly. Opt for larger sections (2 inches) and twist slowly to penetrate dense strands. For bohemian volume, backcomb the roots lightly before styling.
Curly or wavy hair: Enhance your natural pattern! Flat iron waves on dry hair, then scrunch with a curl-enhancing cream to blend heat-styled waves with your texture.
Mistakes That Ruin Beach Waves (and How to Fix Them)
The most common error? Rushing the glide. Moving the flat iron too fast creates weak bends that fall out within hours. Practice a steady, smooth motion—think “slow and intentional.” Another pitfall is clamping too tightly, which leaves marks or crimps. Let the iron’s plates gently guide the hair without squeezing.
If waves turn out too tight or zigzag-shaped, re-straighten the section and try again with a looser twist. For flat or limp results, revive hair by spritzing roots with a sea salt spray and blow-drying upside down for 60 seconds. If ends look fried, apply a reparative serum and avoid clamping them in future sessions—let them flow freely.
Keeping Waves Fresh for Days Without Heat
To extend your style, sleep with hair in a loose top knot secured with a silk scrunchie. In the morning, shake out waves and dab a matte texturizing paste on the mid-lengths. For next-day refresh, mix 1 tbsp of conditioner with ½ cup water in a spray bottle. Lightly mist hair, then scrunch—this reactivates the wave pattern without washing. Avoid touching your hair too much; natural oils can soften waves.
Conclusion
Flat-iron beach waves might feel tricky at first, but they’re worth mastering. Unlike braids or rollers, this method gives instant, customizable results. Experiment with twist angles, section sizes, and heat settings to find your signature wave. Remember, the “perfect” beach wave isn’t uniform—it’s softly imperfect, with pieces falling where they may. With these tips, you’ll ditch the salon and embrace heat-styling confidence, one effortless twist at a time.
Related topics:
How to Make Waves with Styling Gel?
How to Choose the Best Haircuts to Make Thin Hair Look Thicker?
How to Make Flat Iron Curls Last Longer?


